Mô tả
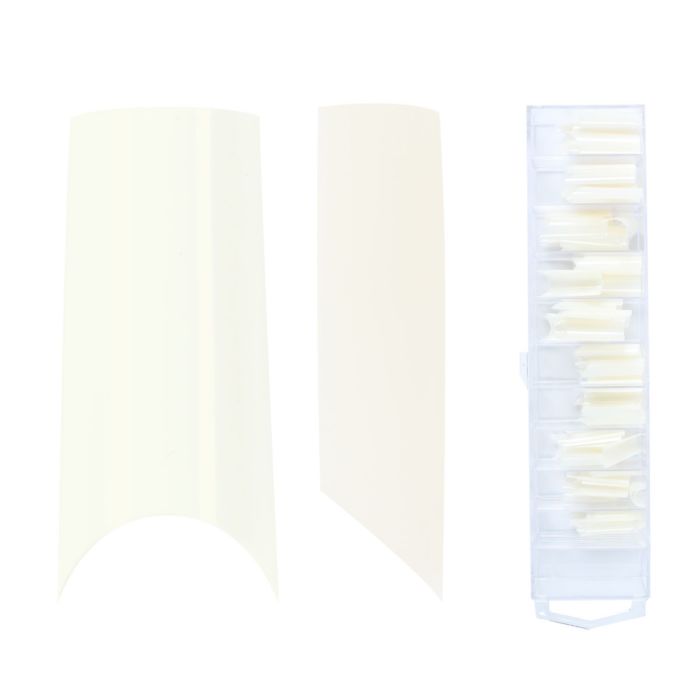
100 artificial tips for nail extensions - natural tunnel tips
With the natural tunnel tips from the Emmi-Nail tip box 100 natural you canExtend gel and natural nails. They provide the shape for long nails, but can also be customized, regardless of whether you want to extend your nails with gel or prefer acrylic nails withTipsthanks to their high quality, Emmi-Nail tunnel tips are very stable, easy to file and adapt perfectly to natural nails. The nail tips are also ideal for creating pattern tips with nail art.Nail artor to designColor gelsto present.
✔S trongly curved
✔ Extremely break-resistant and resilient
✔ Contents: 100 tips in sizes 1-10
✔ with extreme tunnel
✔ the tunnel remains in place at any length
✔ straight lateral line
✔ without contact surface
✔ quick and easy processing
✔ very thin and flexible
✔ Contents:100 tips in sizes 1-10
Nail extension with tunnel tips:
- Prepare the natural nail, remove the cuticle, roughen the nail with the buffer
- Select the nail tip in the desired size. Important: The tips must be exactly the same size as the nail surface and must not be under pressure. We recommend using a larger tip rather than one that is too small, as this is the only way to achieve the ideal connection between the tip and the nail. You can file the tips to fit exactly and shorten the contact surface accordingly. Remember: the more carefully you work here, the better the nail extension will hold afterwards.
- Attach the tips to the nail with a specialTip glue. A tiny drop is all you need. However, no bubbles should form. Make sure that the center of the tips forms a line with the back of the finger bones. If desired, you can shorten the tips to the desired length - use a tip cutter for this. Finally, file the transition to the natural nail flat. With a professionalTip blenderthis is quite easy. Now apply the bonding gel and cure it in theUV deviceorUV/LED devicedevice.
- Now apply the gel to the nails. Apply the build-up gel to the fingernails and hold the hand for three seconds with the back of the hand facing downwards to achieve an optimum C-curve. With firm modeling gels, you can also work the build-up directly. Cure again under the UV lamp and file the finished nails into shape.
- Now create the nail design of your choice with color gel or Nail art.
- Finally, the fingernails are sealed - and the perfect nail extension is finished.
Thêm thông tin
| Tip color | Nature |
|---|

